Introduction
If you found this page, it is likely that you have recently acquired a Simple-Spectro kit and that you are currently wondering how to put all the parts together to actually get a working instrument. Don't worry: this tutorial will walk you through all the necessary steps!
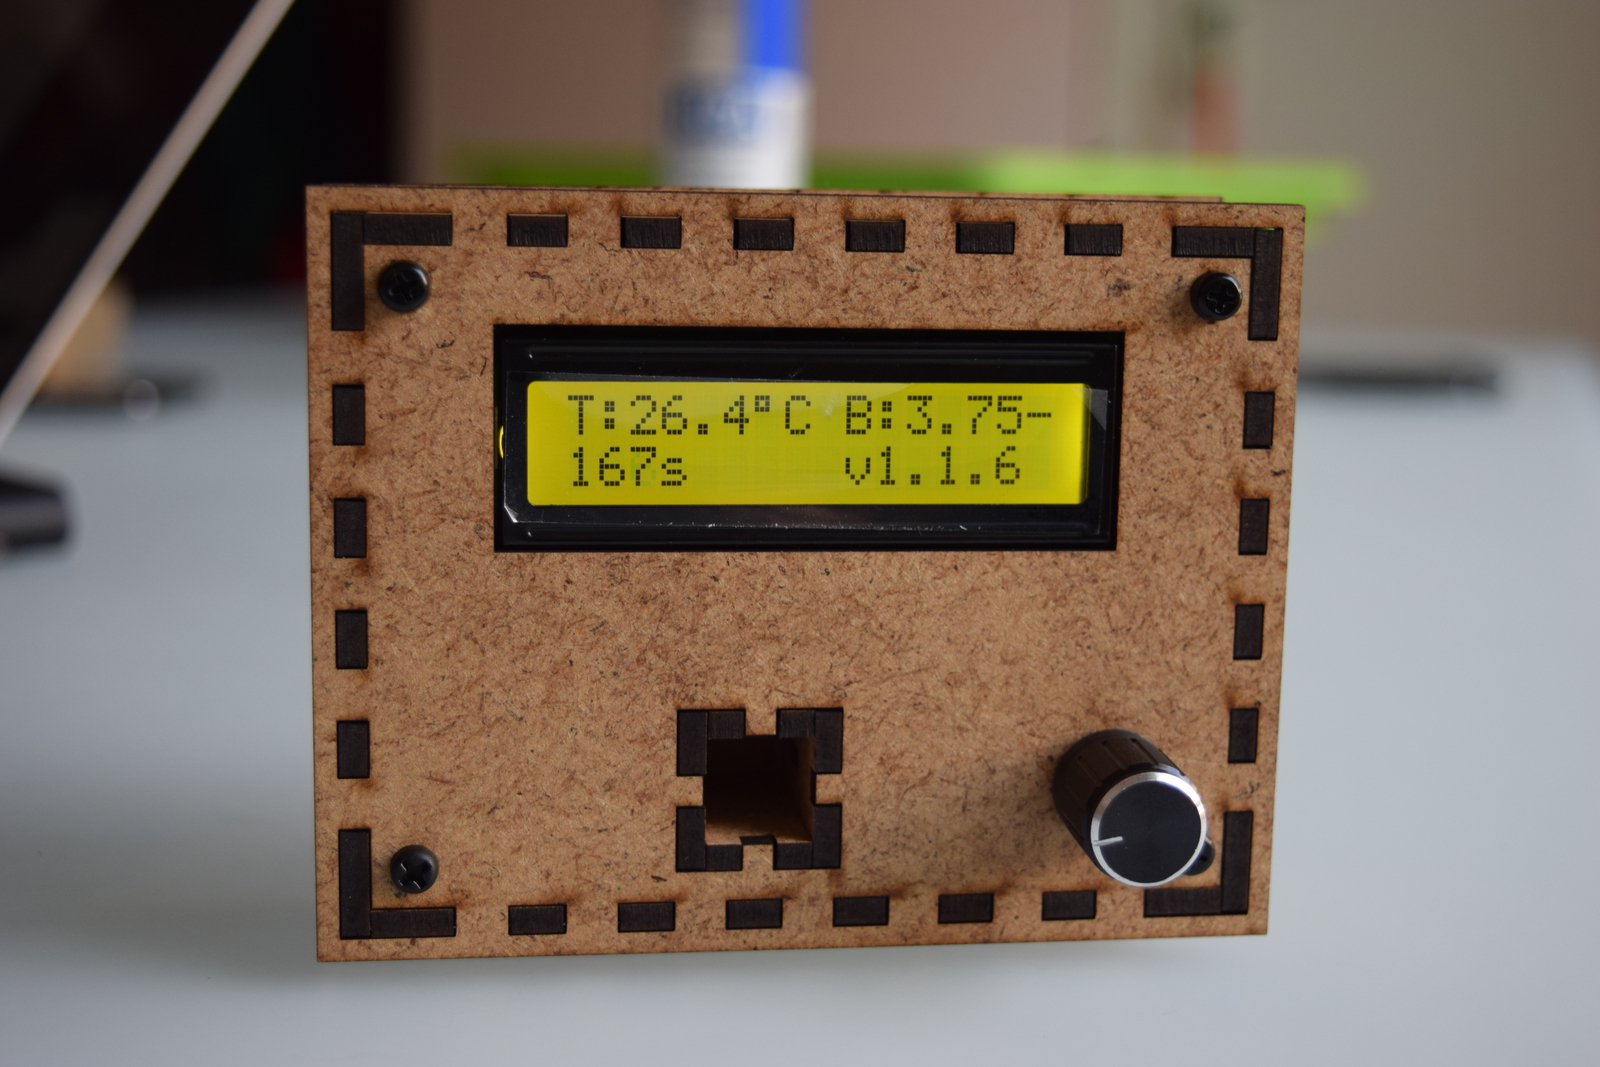
Here is a picture of what you'll be building today:
The Simple-Spectro kit
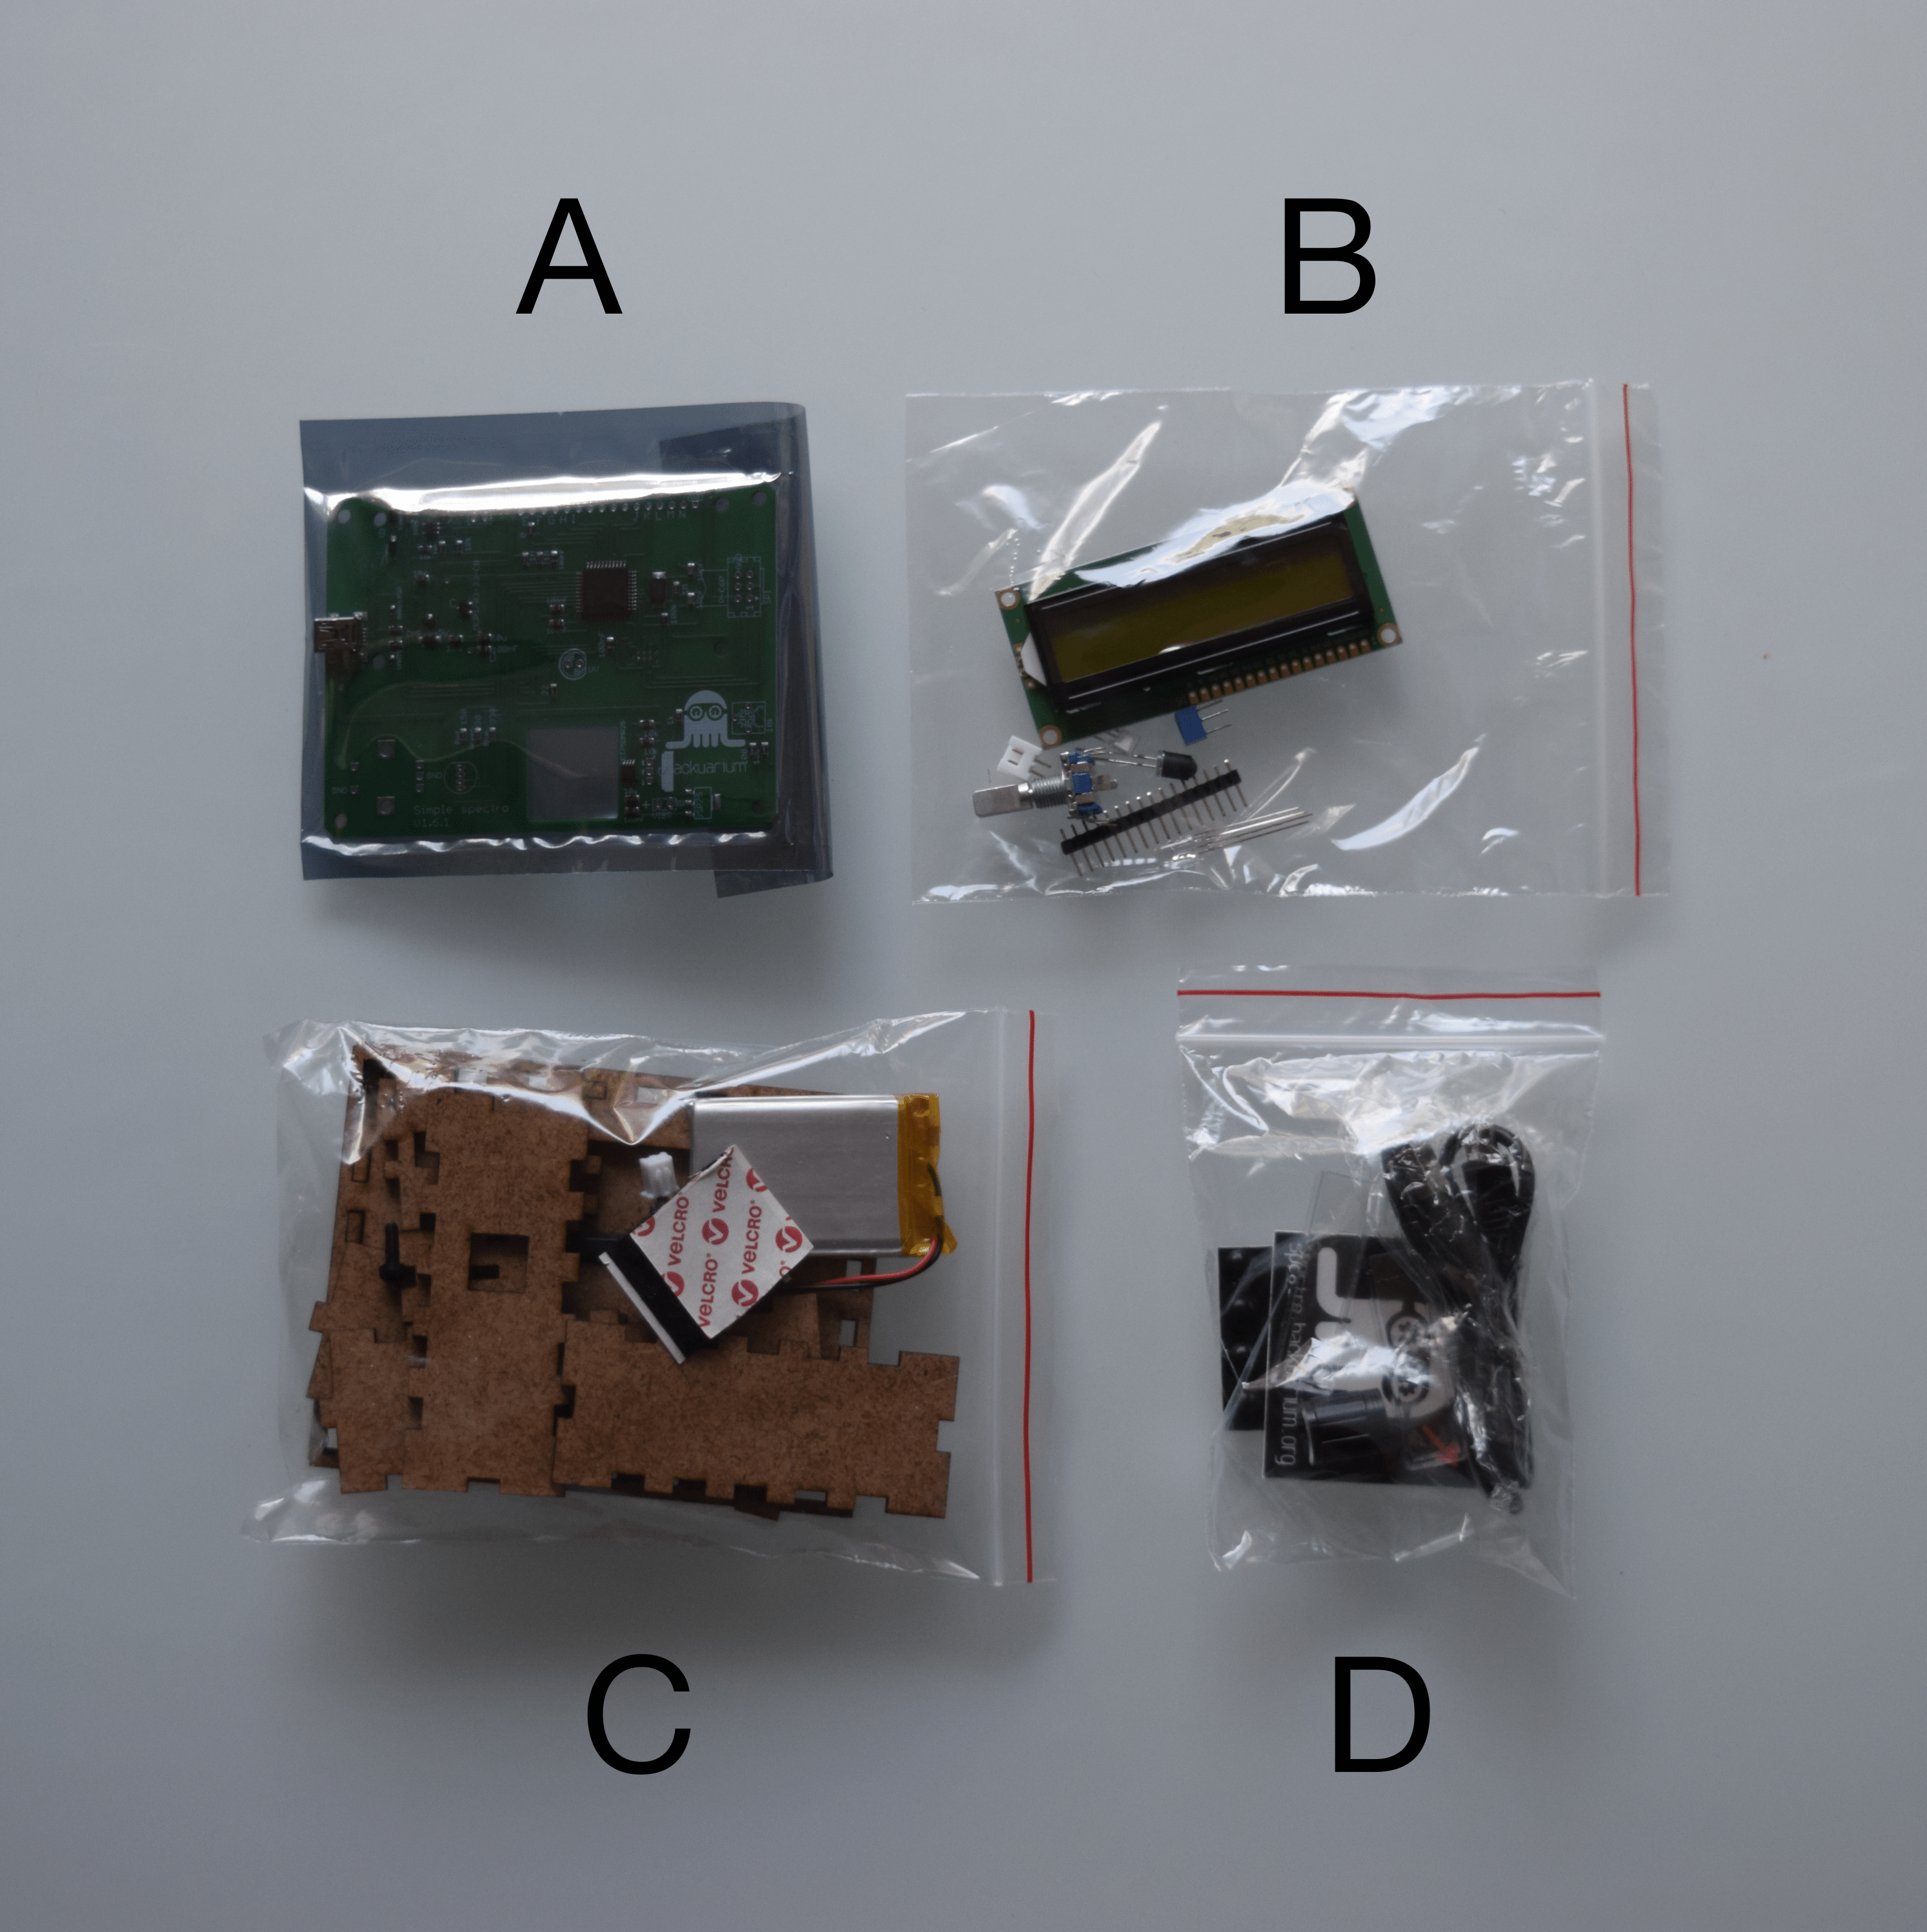
A Simple-Spectro kit is composed of four little bags:
- A: Contains the PCB (the electronic board)
- B: Contains all of the components that you'll need to solder on the PCB
- C: Contains the different parts of the case (the case itself and all the screws)
- D: Contains the supplies that you'll need once the construction is finished (like a mini USB cable, a sticker, ...)
Materials
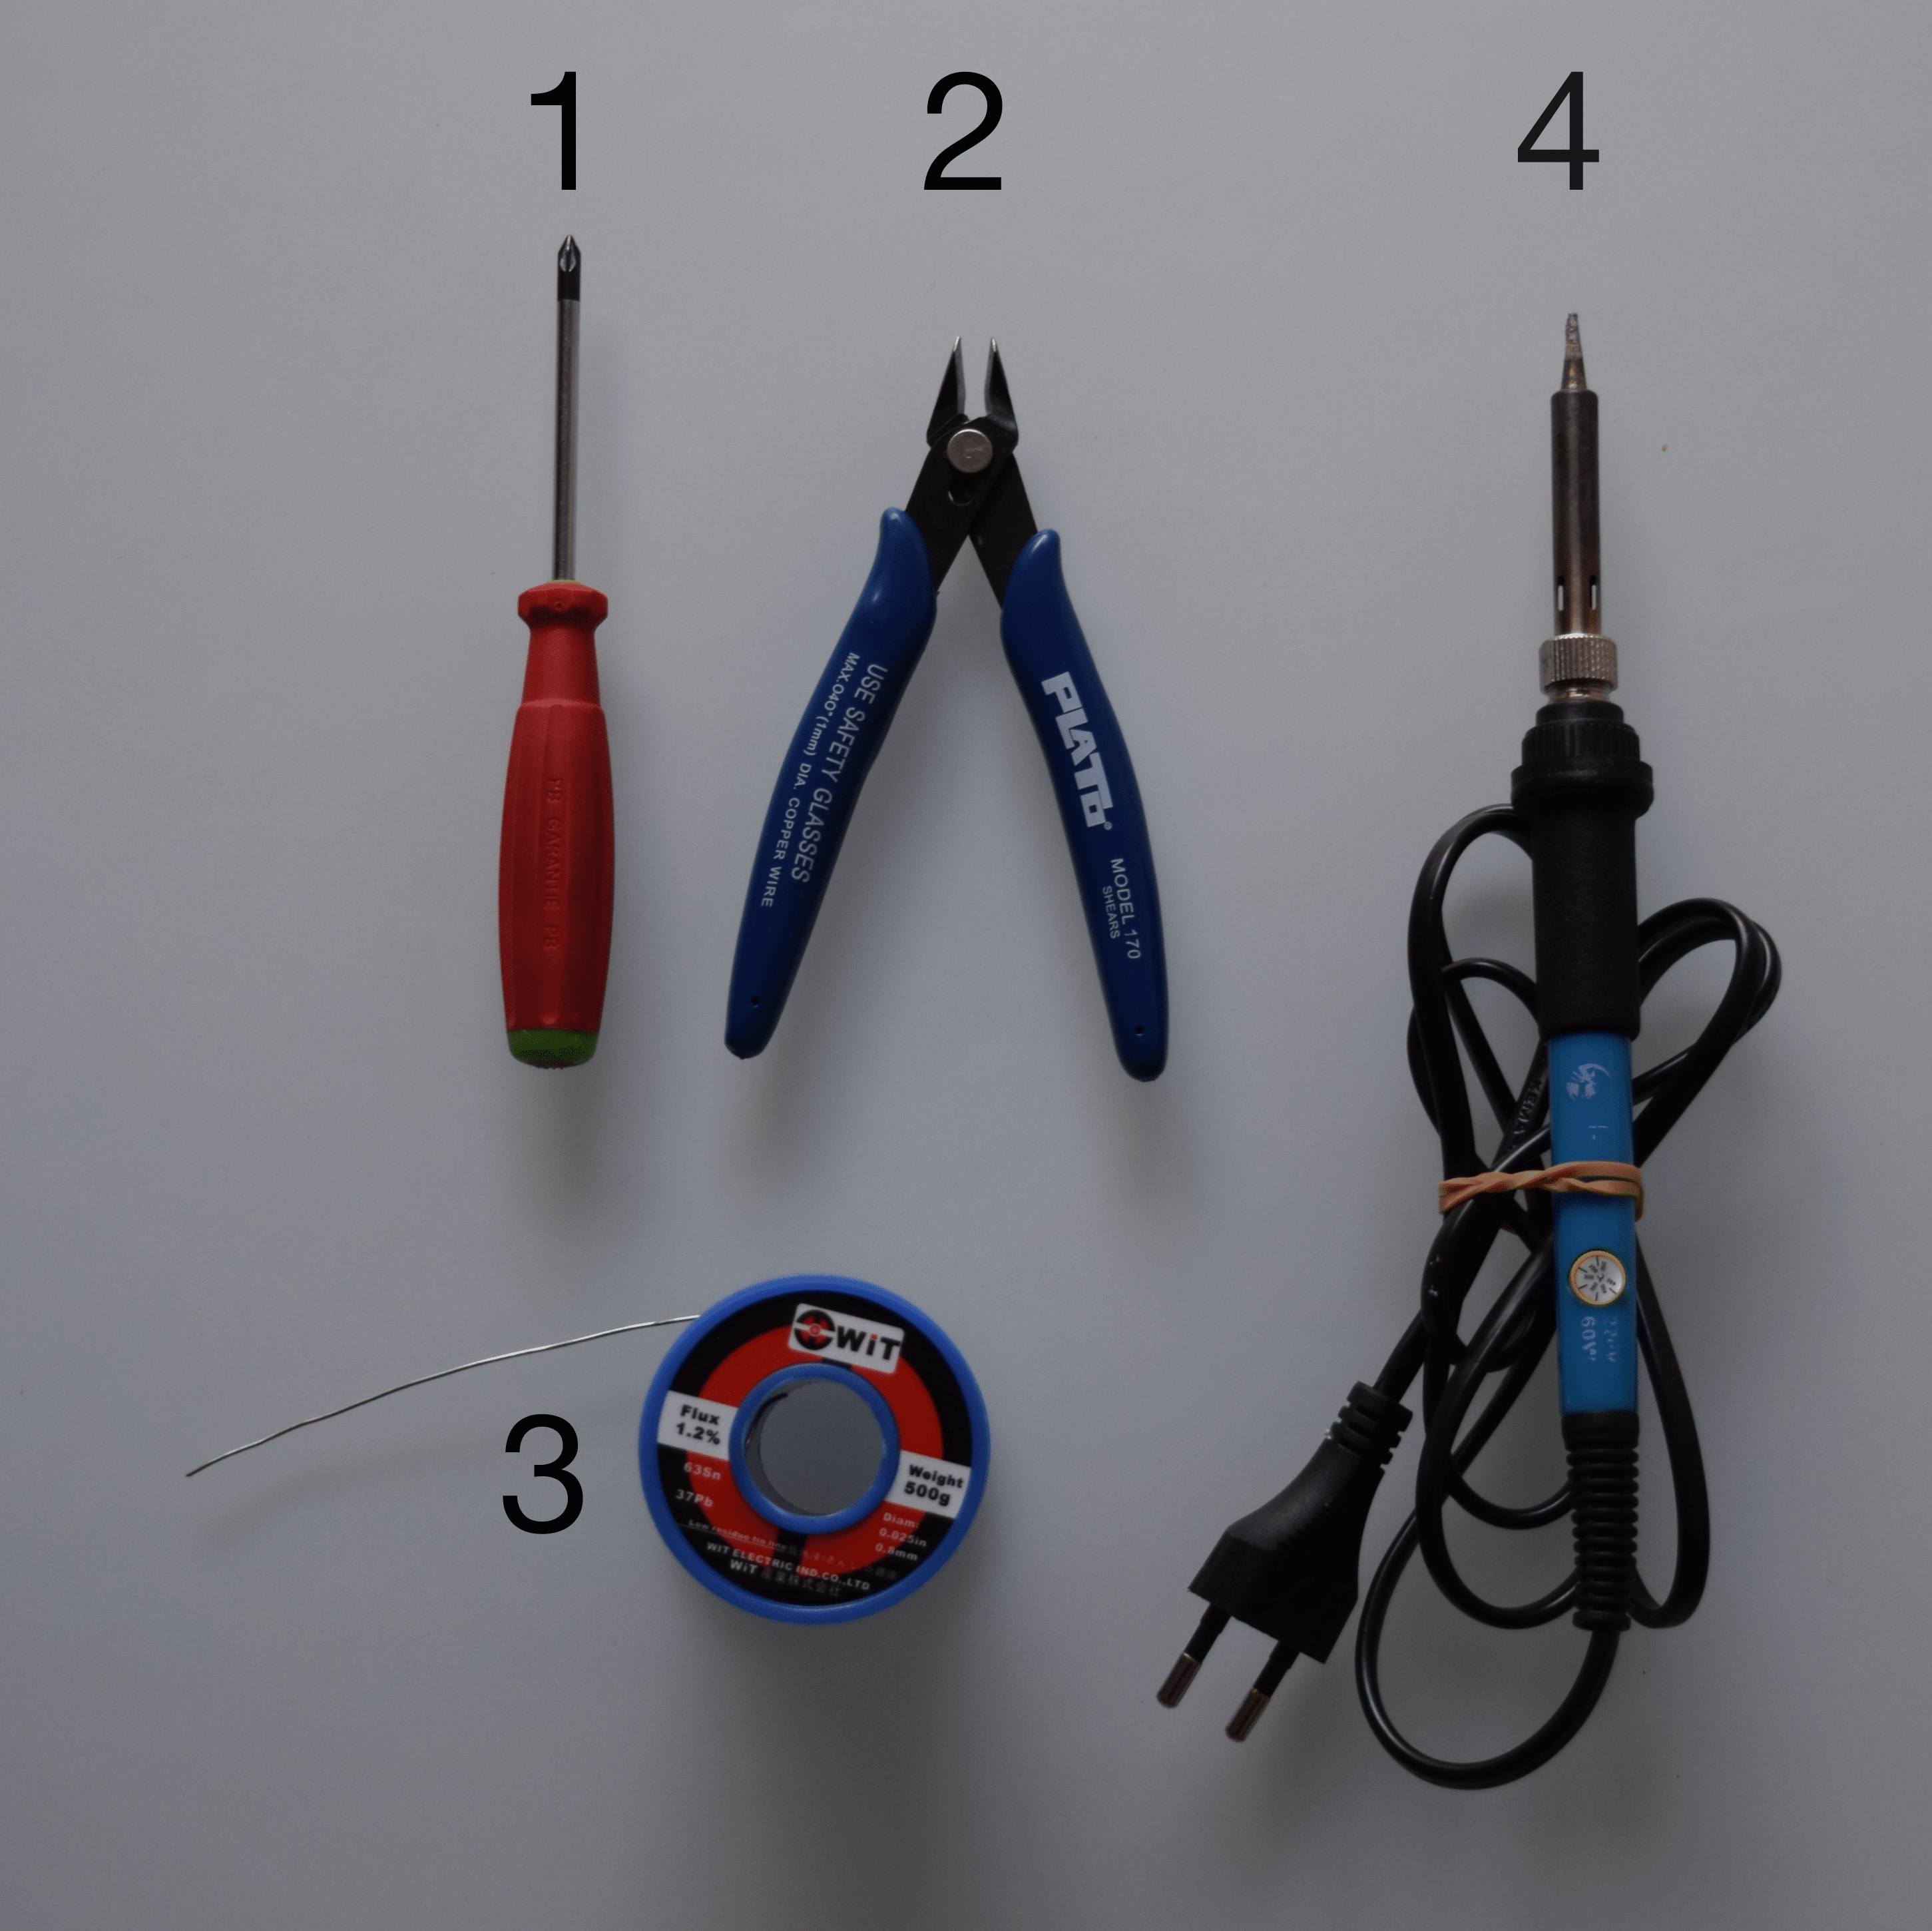
Additionally to the kit, you'll need the following materials:
- A crosshead screwdriver
- A wire cutter
- Some solder
- A soldering iron
Start the construction
To actually start building your spectrophotomer, just press the "Next" button and follow the instructions.